
The machine
Servers are used by the hundreds of thousands in data centres and at some point have fulfilled their duty. These servers can then be bought very cheaply on the market. For 23 Euros I got an IBM xSeries 346 with 6 SCSI hard disks. Three hard disks had 30 GB and three 70 GB capacity.
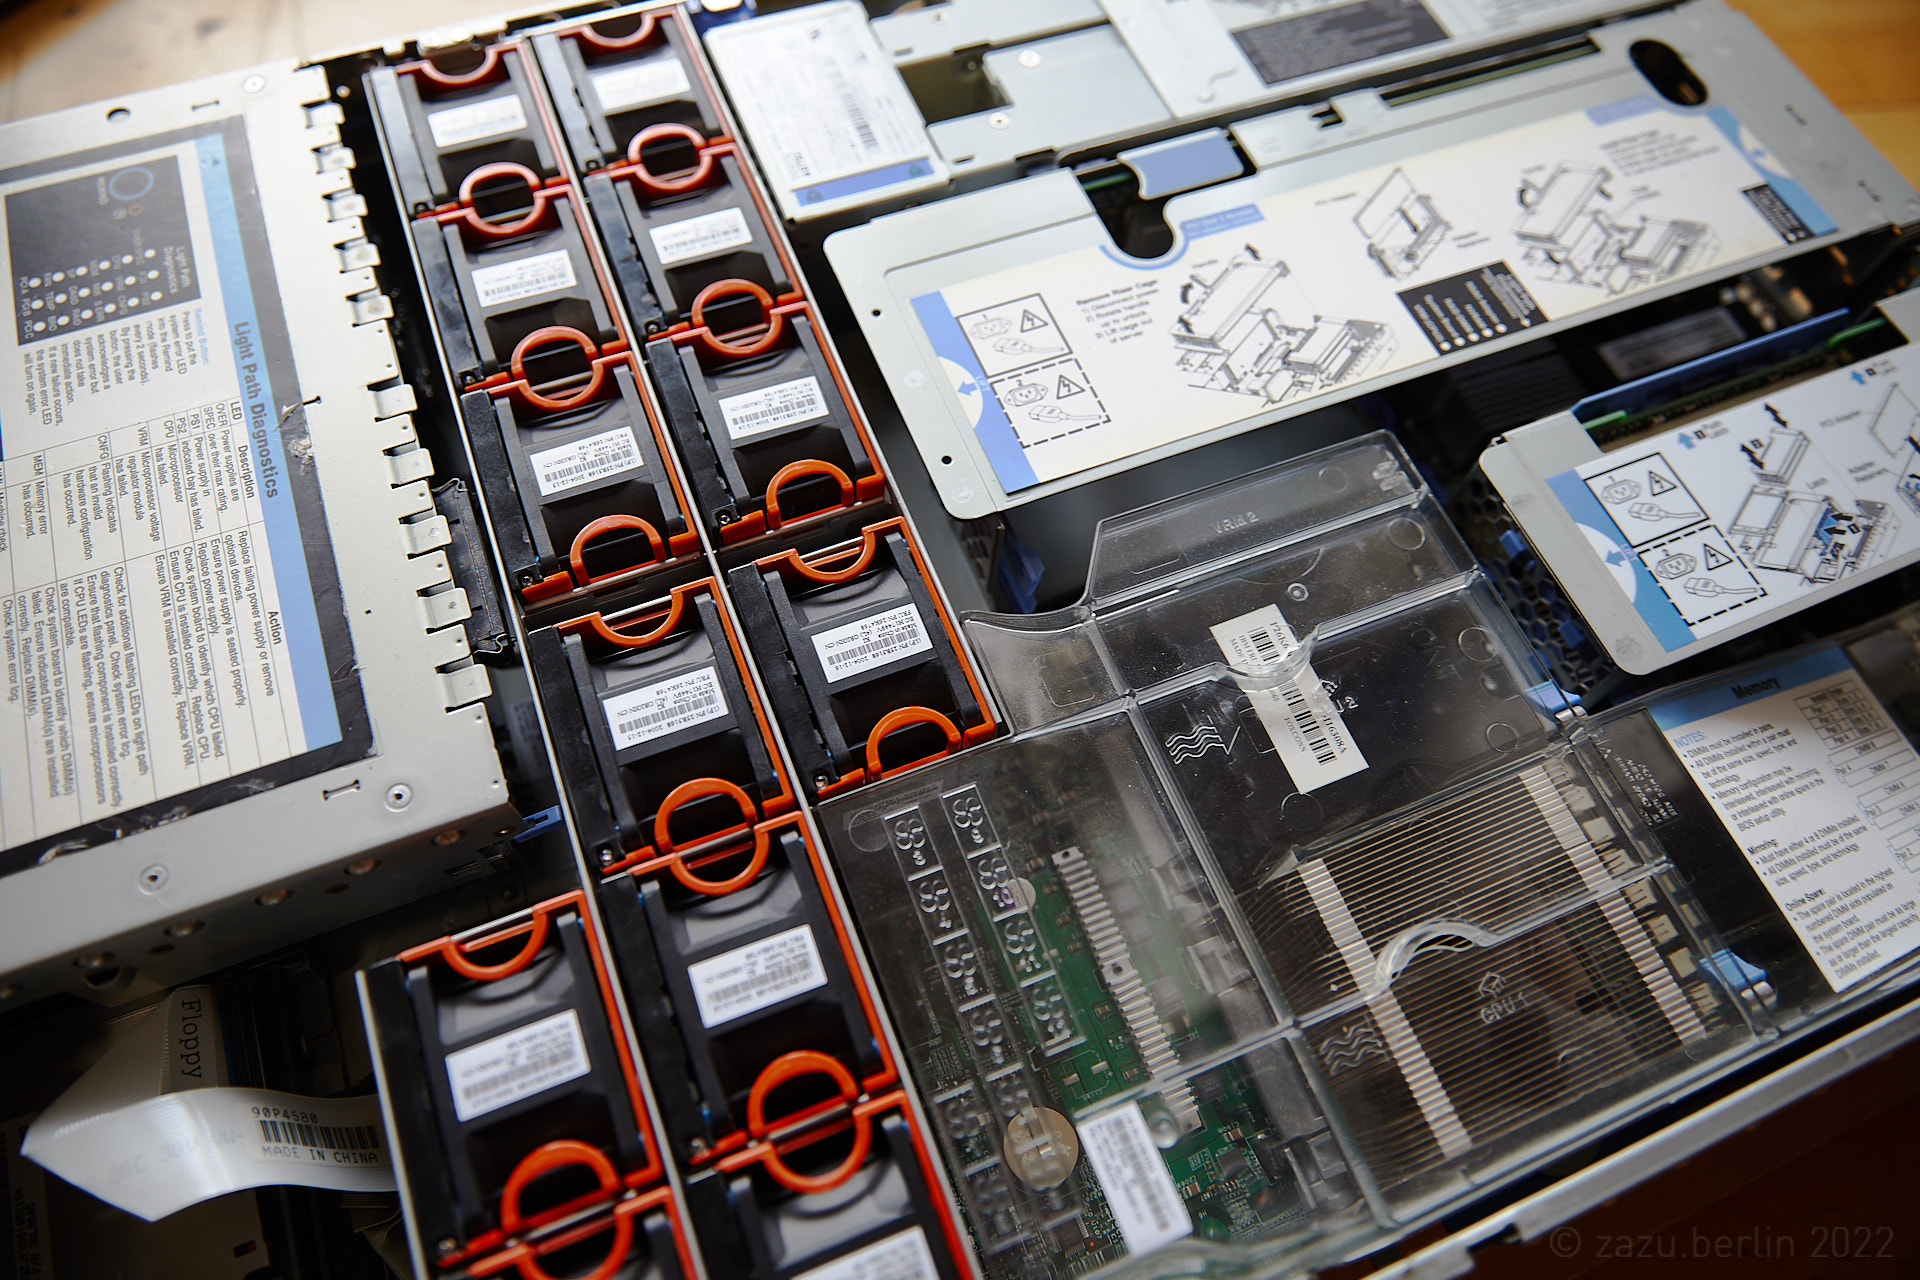
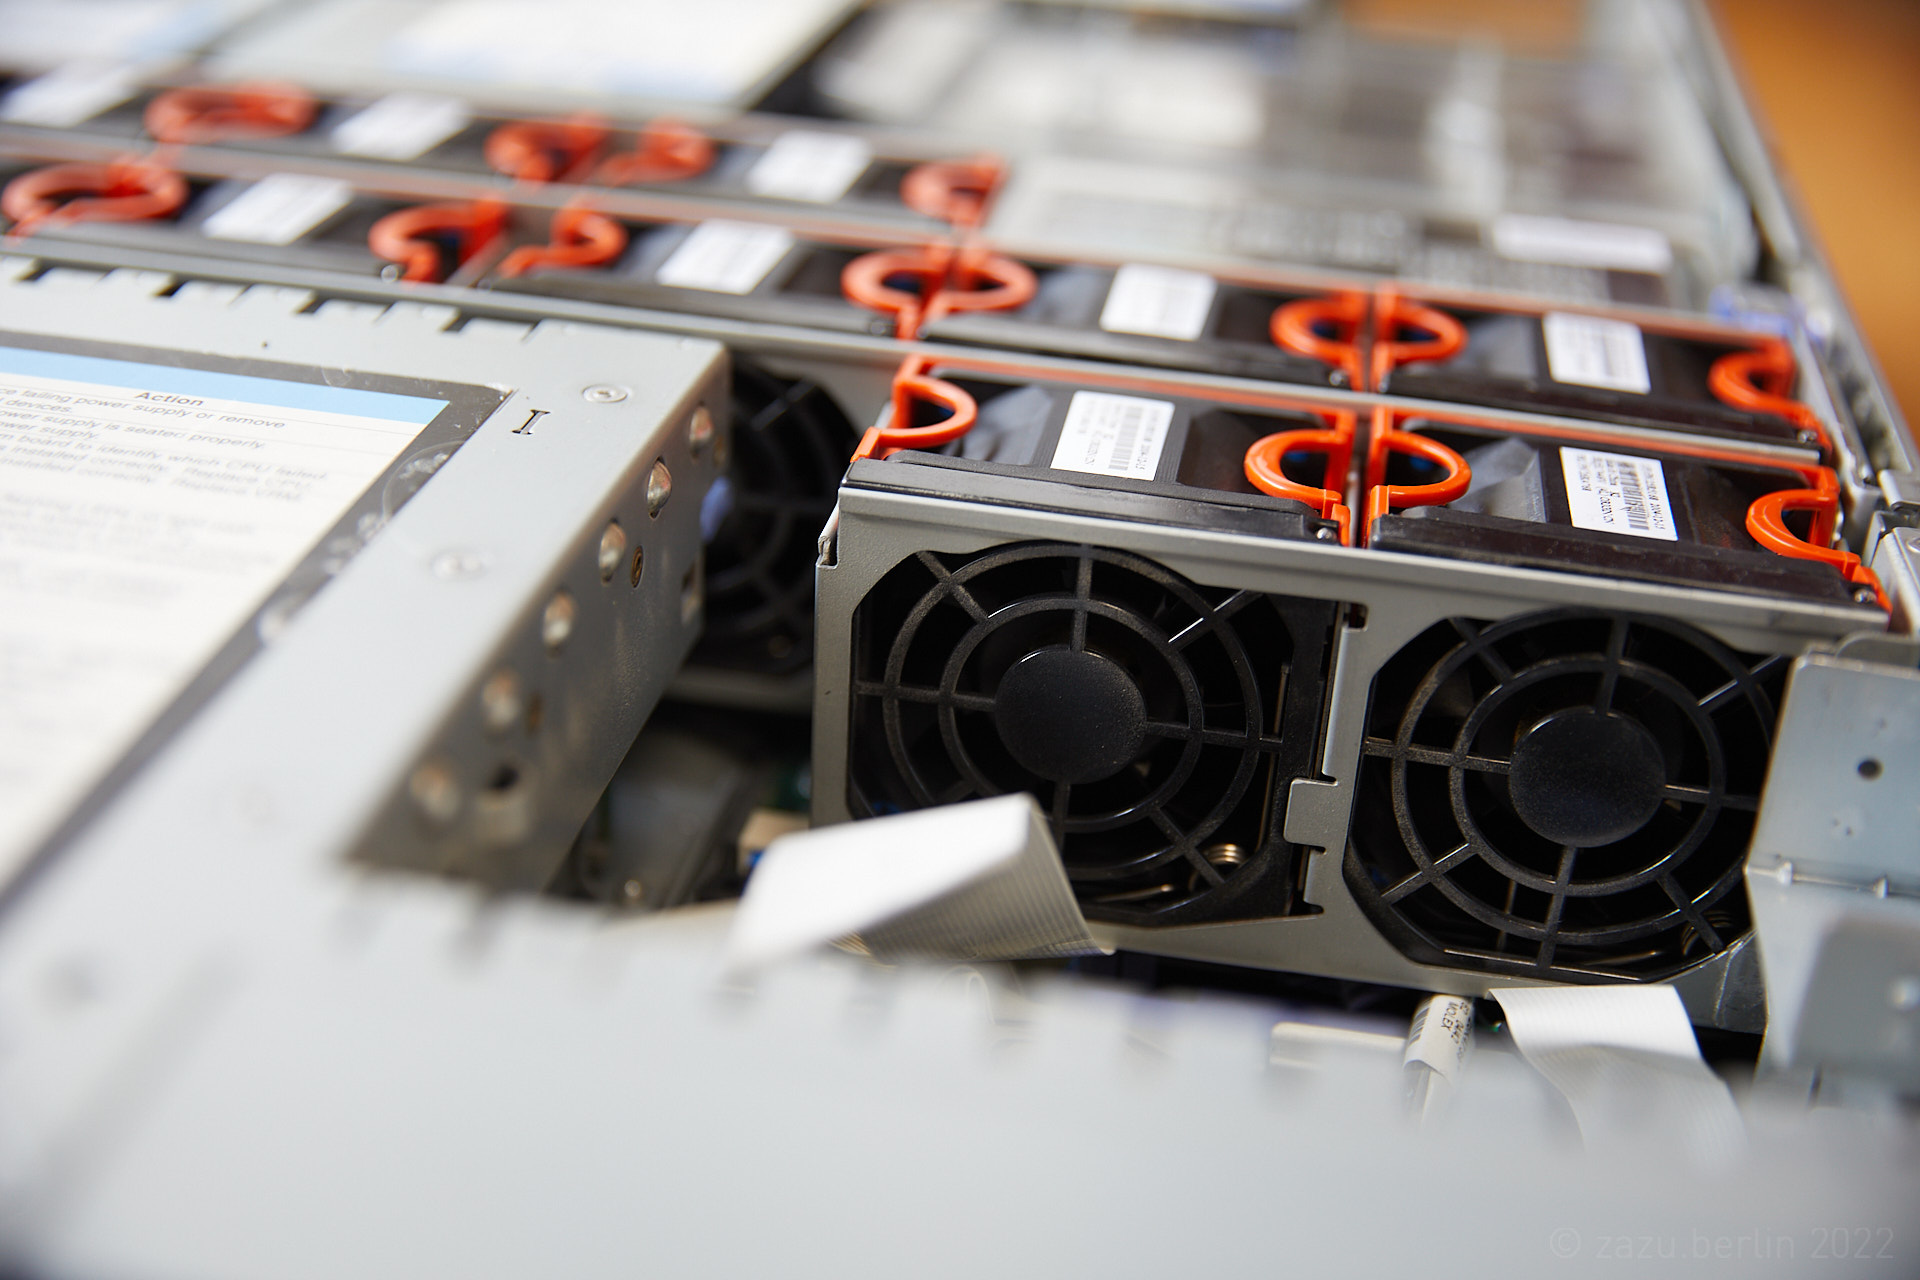
If you look at the 30 kg heavy lump, you discover finest engineering work down to the smallest detail. The lid can be opened easily with a single latch and without a screwdriver. The twelve fans can be removed indivuduelly while the system is running and on the front you’ll find a small indicator panel with lights for various errors. In a data center, maintenance must be as simple as possible.
So why not continue to use the good piece for a while in a small environment. The only drawback is that the somewhat aging, like any old-timer, neatly „swallows“ 350 watts and makes quite a noise. Twelve small fans make their presence felt. So take it to a distant place and only turn it on when you really need it. But then it is quite fast, since it only has to deliver a single web page.
Obstacles on the way to the goal
The server has a floppy disk drive, yes a floppy disk drive, a CD drive and several USB connections. Six SCSI hard disks are attached to a hardware raid.
a. Unfortunately, you can’t setup the Raid in the BIOS, you need the „IBM Server Guide Software“ for that. In my case it was the version 7.4.16.
You will find it here:
https://www.ibm.com/support/pages/ibm-serverguide-setup-and-installation-cd-version-7416-system-x
The .iso image must be burned as an iso on a CD (DVD is not working). Next step is to start the server via BIOS and key F12 form the CD. With the software it is then easy to setup a RAID 5 with approx. 150 GB of usable space.
b. To setup Ubuntu you also need a CD with an Ubuntu iso image. Starting from an USB stick is not supported. If you have, you can start from a floppy disk.
Next problem:
A CD has only 700 MB of space, but the Ubuntu 18.04 image is much bigger. But there is a „minimal.iso“ with 32-bit PC (i386, x86) support:
https://help.ubuntu.com/community/Installation/MinimalCD
This image is only bringing the minimal installation software and everything else is downloaded in the process.
Ubuntu 20 or anything else above 18.04 doesn’t support 32 bit machines. I tried it, but got allways stuck in the middle, without any error code or warning.
From here onwards you need to install the following:
- LAMP server, Linux, Apache, MySQL and PHP in the process of installing Ubuntu
- SSH to acces the server from a distance, also in the process of installing Ubuntu
- phpMyAdmin
- Composer
- ImageMagic or GraphicMagic
PHP Versions
Ubuntu is not coming with the latest version of PHP but with TYPO3-11 you need at least PHP 7.4.
To get a higher version we must install an additional „Personal Package Achive – PPA“. In this case the archive of Ondřej Surý where you will find different PHP versions:
sudo apt install python-software-properties
sudo add-apt-repository ppa:ondrej/php
sudo apt-get update
sudo apt install php7.4
Typo3 11 needs the following PHP modules:
- pdo
- json
- pcre >= 8.38
- session
- xml
- filter
- hash
- SPL
- standard
- mbstring
The following modules are recommended:
- fileinfo (used to detect file extensions of uploaded files)
- gd (GDlib/Freetype is required for building images with text (GIFBUILDER) and is also be used to scale images)
- zip (TYPO3 uses zip to extract language archives as well as extracting and archiving extensions)
- zlib (TYPO3 uses zlib for output compression)
- openssl (OpenSSL is required for sending SMTP mails over an encrypted channel endpoint)
- intl (when using unicode-based filesystems)
- cli (for composer)
Link:
https://docs.typo3.org/m/typo3/tutorial-getting-started/main/en-us/SystemRequirements/Index.html
sudo apt install php7.4-pdo php7.4-jsonSet a specific PHP version as default
sudo update-alternatives --set php /usr/bin/php7.4Now you must set the version for Apache
//disable the current version
sudo a2dismod php7.2

//enable the target version
sudo a2enmod php7.4

//restart Apache
sudo systemctl restart apache2
Typo3 11 needs a bit more script time and some more settings in php.ini
Find the matching php.ini to your version:
php -i | grep "Loaded Configuration File"
// now change it with vim
Hier are the TYPO3 settings:
memory_limitset to a minimum of 256MBmax_execution_timeset to a minimum 240 secondsmax_input_varsset to a minimum 1500
The following settings control the maximum upload file size:
post_max_sizeset to 10M to allow uploads of 10MBupload_max_filesizeset to 10M to allow uploads of 10MB
Link:
https://docs.typo3.org/m/typo3/tutorial-getting-started/main/en-us/SystemRequirements/Index.html
And in the end restart Apache again:
//restart Apache
sudo systemctl restart apache2
Install phpMyAdmin
If you get strange error messages you must update to the latest version!
//update packages
apt update && upgrade

apt install phpmyadmin php-mbstring php-gettext

//choose in the dialog apache2

//enable  PHP extension

phpenmod mbstring
Configure the apache2 config file for your domains:
Example here:
https://websiteforstudents.com/install-typo3-on-ubuntu-17-04-17-10-with-apache2-mariadb-and-php/
vim /etc/apache2/apache2.conf
// then add it
Include /etc/phpmyadmin/apache.conf

//restart apache2
sudo systemctl restart apache2
The phpmyadmin user is: phpmyadmin
The password is the password you gave it during installation.
You find it here:
http://your-domain-ip-or-localhost/phpmyadmin
Get the latest version of phpMyAdmin
If you get a red screen inside phpmyadmin or other strange problems, install the latest version (my Ubuntu-Version failed to work):
sudo add-apt-repository ppa:phpmyadmin/ppa
sudo apt-get update
sudo apt-get install phpmyadmin
Install Composer
Make sure that php7.4-cli is installed.
// got to home
cd ~

//get the software
curl -sS https://getcomposer.org/installer -o /tmp/composer-setup.php

//get the signature to make sure it is the original
HASH=`curl -sS https://composer.github.io/installer.sig`

//check it
php -r "if (hash_file('SHA384', '/tmp/composer-setup.php') === '$HASH') { echo 'Installer verified'; } else { echo 'Installer corrupt'; unlink('composer-setup.php'); } echo PHP_EOL;"

//output
Installer verified

//finally install it
sudo php /tmp/composer-setup.php --install-dir=/usr/local/bin --filename=composer

//now you can run it

composer
Link:
https://www.digitalocean.com/community/tutorials/how-to-install-composer-on-ubuntu-20-04-quickstart
graphicsMagick or imageMagick
sudo apt-get install -y graphicsmagickFolders must have the correct users and rights
For a development server it is not so essential that everything is super save and protected. Therefore the main folder that is accesed by the server should get the following permissions and owners:
owners: yourTerminalUser:www-data
permissions: 2775
Please note: The webserver can access all data that is owned bei „www-data“ on Ubuntu. So Ubuntu warns in /usr/share/doc/base-passwd/users-and-groups.html
Some web servers run as www-data. Web content should not be owned by this user, or a compromised web server would be able to rewrite a web site. Data written out by web servers will be owned by www-data.
Since this server runs only inside the office network and is not connected to the outside world (firewall) the above settings are fine.
Starting a new TYPO3 composer installation
composer create-project "typo3/cms-base-distribution:^11.5" my-new-projectInside „my-new-project“ composer will create a „public“ directory as the website root. This path must be namend inside the apache.config file.
Author:
Thomas Hezel
email: info@zazu.berlin